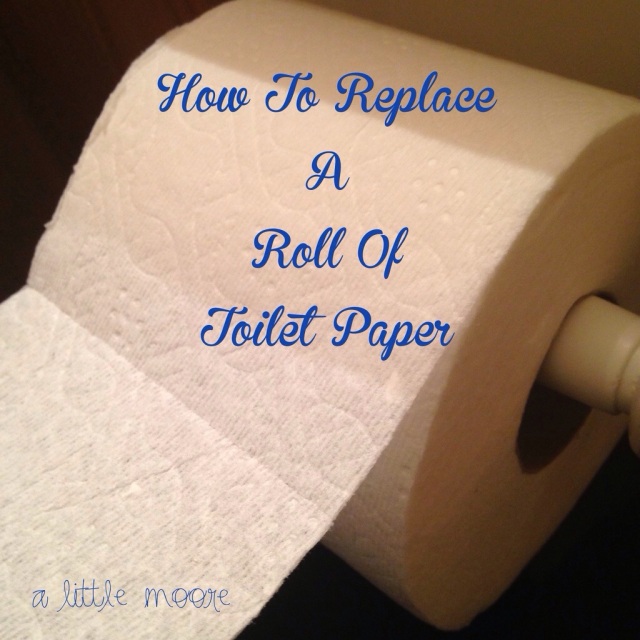
How To Change A Toilet Paper Roll

20140129-082950.jpg
We have a serious problem at my house. It provides aggravation, embarrassment and waste. On any given day you can walk into any of our bathrooms and find no toilet paper. No one wants to be the person who discovers it. Kids have knocked a roll into the toilet. It has gone missing to assist in cast making for stuffed animal hospital or shredded like confetti courtesy of the littlest member of our family.

I wish I could say this is all the kids fault but it happens in my bathroom too. The solution in my mind is simple. PUT THE TOILET PAPER ON THE ROLL. Sorry internet if you think that my all caps was me yelling. Wait, I am not sorry because I am yelling. For the love people, why is this the one task you can’t do? So, I have decided that since the task is obviously hard a detailed tutorial was necessary.

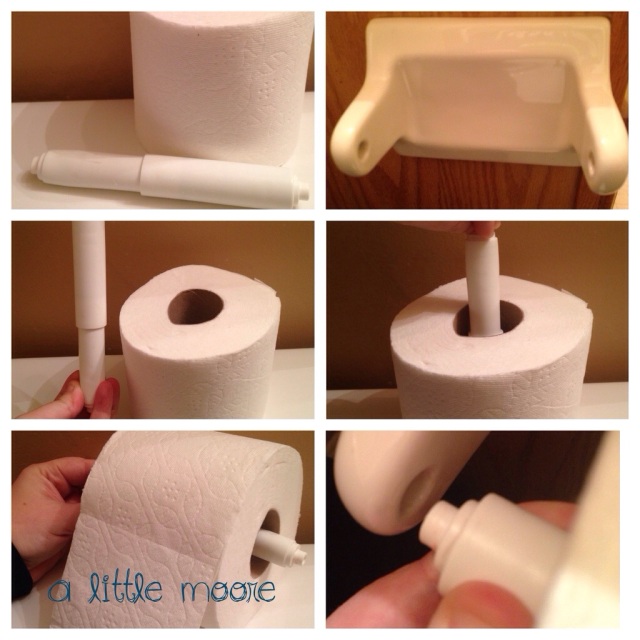
First it is necessary to understand the tools needed. The toilet paper, the holder and the mount. I know that this seems to be tricky but all three parts are meant to work together. Stick with me, I have made this process easy for you.

The holder goes into the cardboard tube of toilet paper. Either way is fine just get in there. We are on our way!

You will notice that it collapses a extends back to its regular size. Do not be alarmed, it is not broken! Continue with the process!

Now the great over under debate. There are days that I would sacrifice the toilet paper position for just the victory of seeing it in the roll but for good measure I am going to demonstrate the correct way and that is over. If you are an under person than, you are stubborn to argue this point when you are clearly mistaken.

Please refer to picture to see the over method demonstrated.

Lastly, that fancy holder needs to be pinched ever so slightly and slid into the mounted piece. See those “holes” they are meant to act as a locking mechanism to secure the holder with the roll of toilet paper now on it.

You are done! It is that easy. I hope this took some of the stigma of fear away for my family. I will be happy to print this and laminate it for my dear family if the concept takes a few times to master. But know this, I believe that this is an epidemic that we can solve!
20140129-084920.jpg

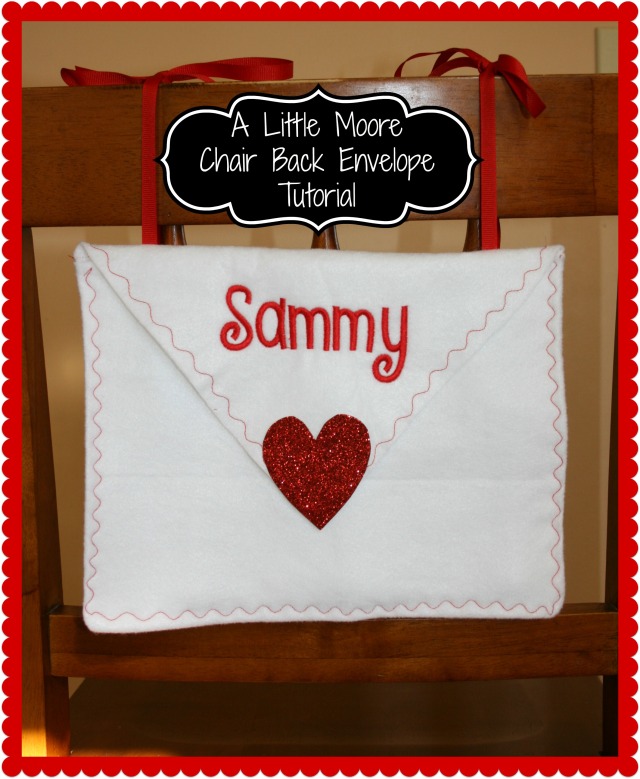
Valentines Felt Envelope Chair Back Tutorial

I have loved the chair back valentines that I have admired from certain big box stores but knew that I could not only make it but I could make one exactly the way I wanted it to look. I made a test one yesterday that I shared o on my facebook page and tweaked it slightly today and I am thrilled with the results!

Here is what you you need:

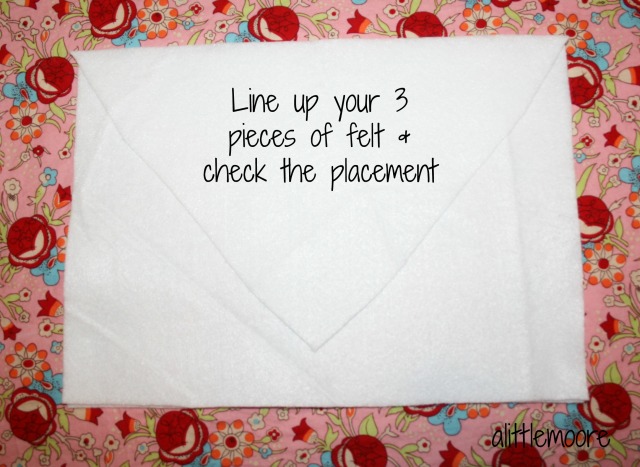
3 pieces of 8×11 felt  (one cut into a triangle to be the flap)

sewing machine

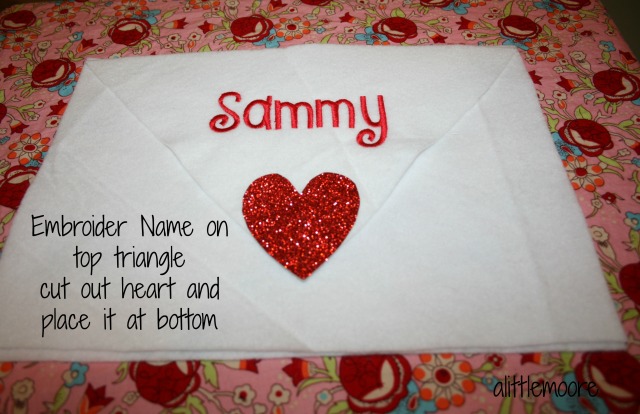
embroidery machine (if desired)

Coordinating ribbon

felt of glitter canvas (next to felt at Hobby Lobby) for the heart

Here we go!

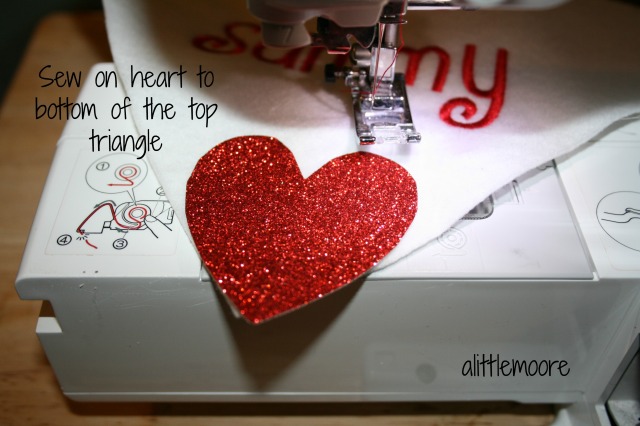
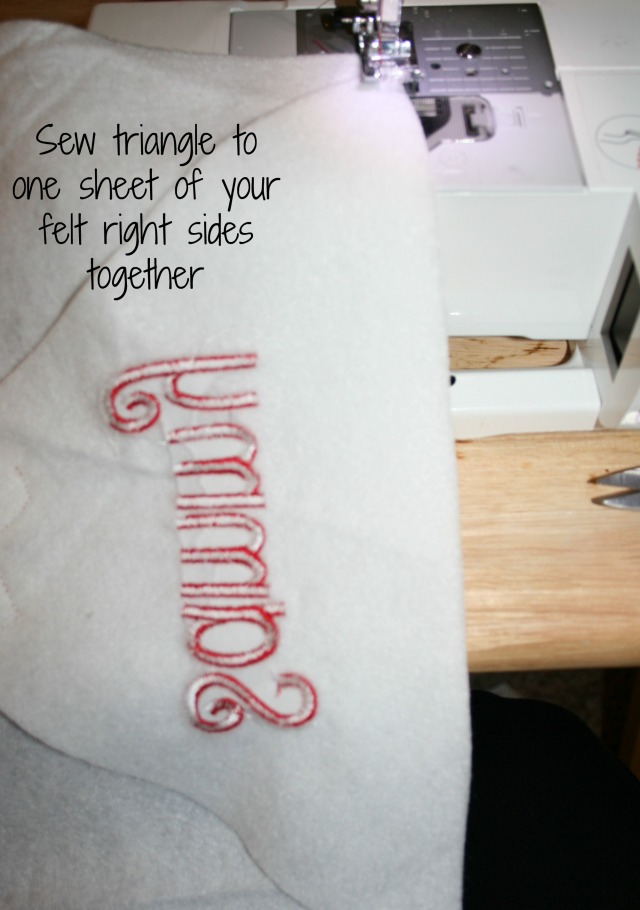
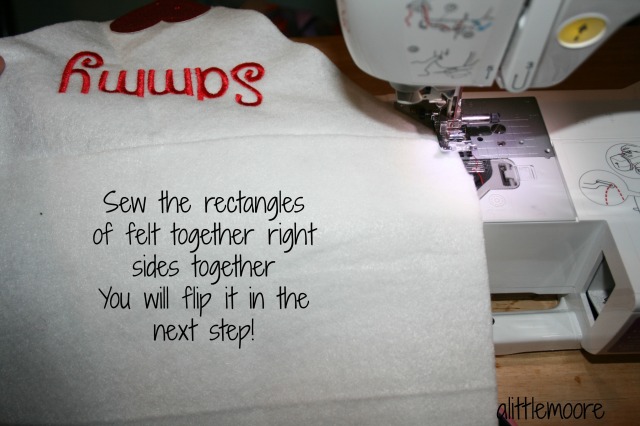
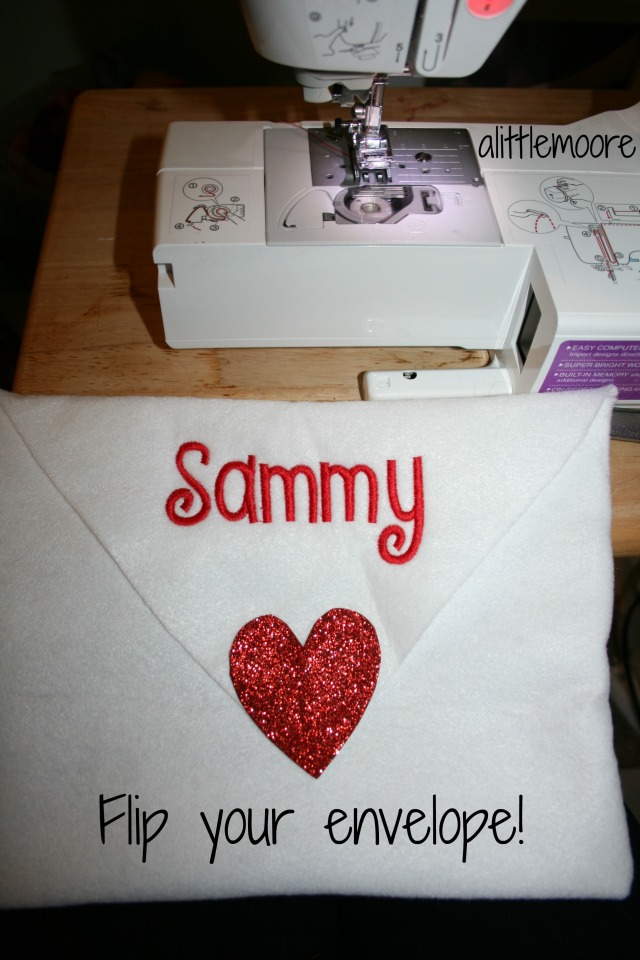
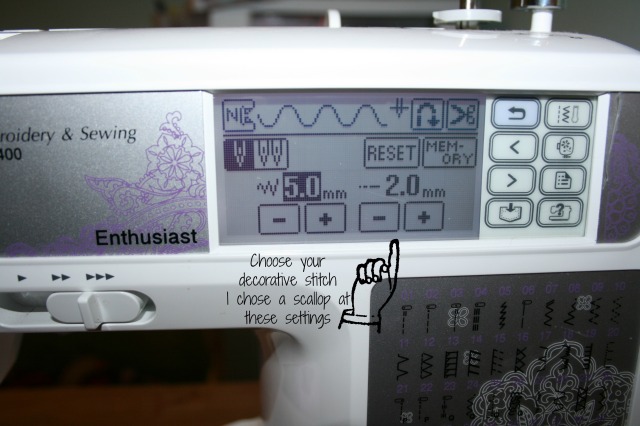
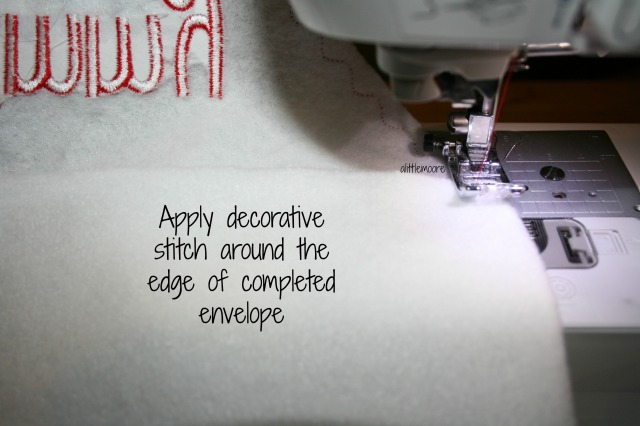
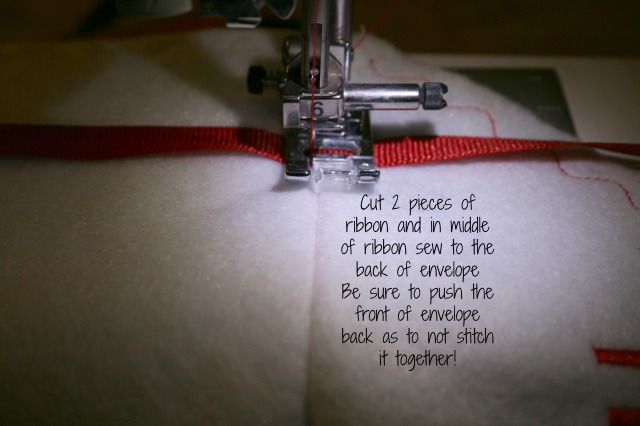
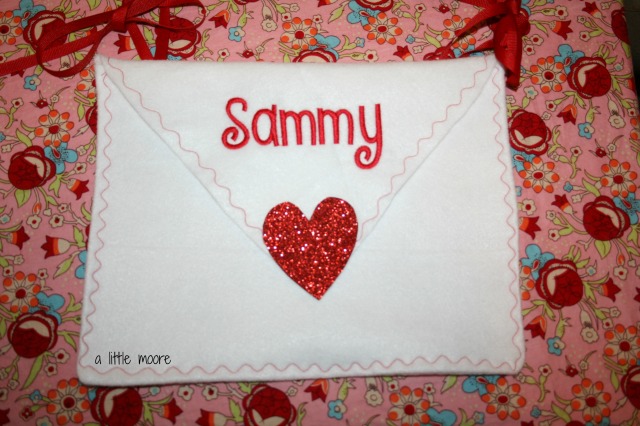
alittlemoore envelope 1alittlemoore envelope 2alittlemoore envelope 3alittlemoore envelope 5alittlemoore envelope 6alittlemoore envelope 7alittlemoore envelope 8alittlemoore envelope 9alittlemoore envelope 10alittlemoore envelope 11alittlemoore envelope 12

All done! I am so happy with how they turned out and if you want one but don’t want to make your own send me a message on my facebook page

I will be selling them for $15 plus $3 to ship!

Order soon so they can make it out in plenty of time!

Elf Cape Tutorial

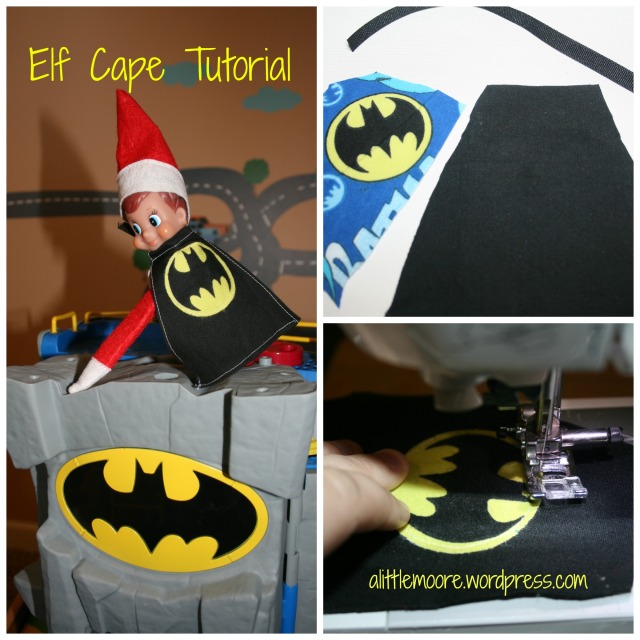
elf cape

Here is the easy peasy elf cape tutorial!

You need a 5 inch scrap of fabric cut into a triangle.

A piece of ribbon or yarn

Logo of your choosing

I found batman fabric at in my local fabric stores remnant bin which made this easy but if you go to any fabric store or even at my local Walmart I have seen similar fabric. Ask them them for the smallest piece they can cut! You are not obligated to by a whole yard! If in a pinch you can’t or don’t want to do that do a google image search and print it out, the kids are not supposed to touch the elf so if it is taped or glued on…no big deal!

Take your ribbon or sting and fold the tip of the triangle down covering the ribbon. I sewed mine but feel free to use hot glue (just don’t burn your fingers..you will feel the burn through the fabric!)

Then tie it securely around your elf.

If you have basic sewing skills this only takes a straight line or to go around your image or scrap. I promise that any level crafter can do this no problem!

Come back to my facebook page and share your fancy super hero elf capes!

Chasing Smiles


avonleacrazy

It was bound to happen soon enough. My little one who posed for all pictures all the time now needs to be chased to get those sweet smiles on camera. By the time I get ready to snap the pictures she is shoes off, bow thrown and halfway down the hall. At 14 months she is a fast little thing. But, I would chase her down any time anywhere to get these sweet toothy smiles!

I actually sewed today for her! Beginning her Christmas wardrobe a little early! But, hey if our elf can arrive in November so can a Christmas lights dress. The fabric came from JoAnn’s and I love the fact that she is of the size still that I can make a whole dress with a yard of fabric with scraps to spare! I adore this peasant dress look on her! I paired it later on with leggings and the 3/4 sleeve makes it versatile. The pattern is from a favorite tutorial from Once Upon a Sewing Machine Ridiculously easy and super fast.

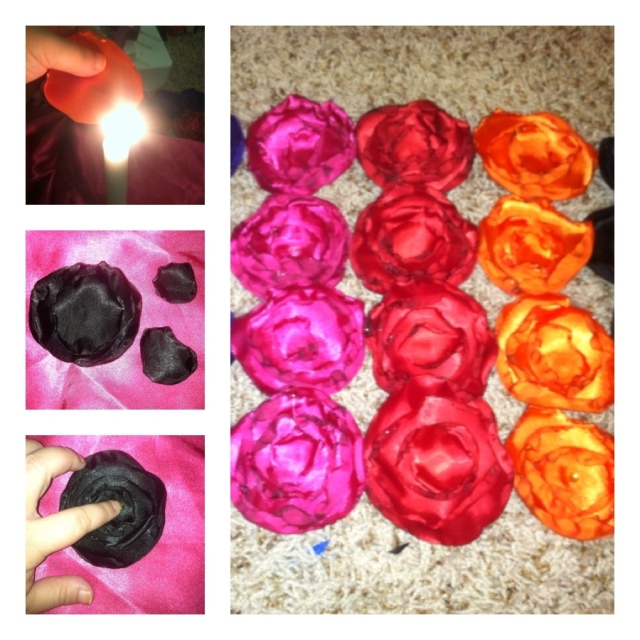
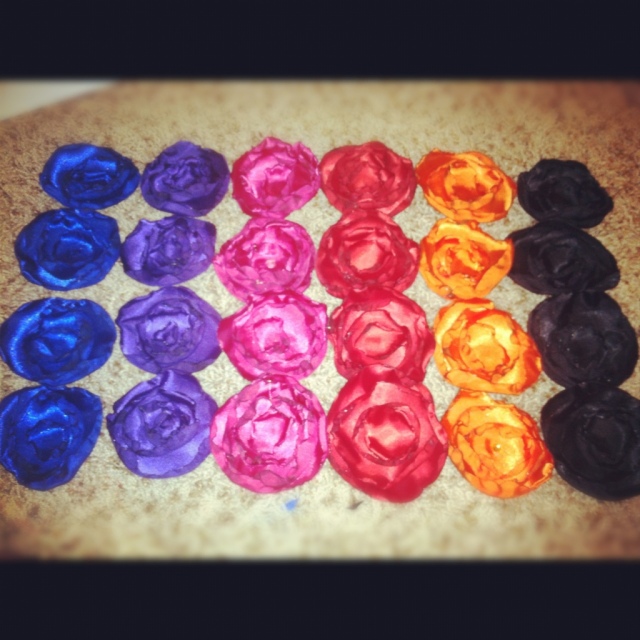
Satin Flower Tutorial

20120806-154554.jpg

I had some crazy contractions this morning and needed an activity to keep me distracted and still today and since I found a ton of poly satin I decided to make these sweet hairbows. Well, flowers.

1. Cut poly satin fabric into circles. I have made them with anywhere from 3-5 different size circles. This is about preference and fullness. The nice thing is that these don’t need to be perfect circles for great results!

2. Get a candle lit and burn the edges of your circle until they curl up slightly. On lighter colored fabric this may show black on the edges. I like the look but be aware if you were not going for that look.

3. Stack your circles according to size putting them together with glue. I like hot glue but you can use another strong craft glue or even sew them together.

4. Add rhinestone(s) if desired.

5. Add backs if your choice. For bows I prefer a lined alligator clip but I also like pin backs to apply these to purses, hats, etc….

6. Enjoy your handmade flowers! Or give them away if you are like me a s have problems making them in moderation!

20120806-155417.jpg

My Little Mermaid

https://i0.wp.com/farm6.static.flickr.com/5110/5687947217_2dd0b1460e.jpg

The princess is still into dressing up but she outgrew her Ariel costume so it seemed fitting to try and make her a new one. I used two poly satin fabrics so it is reversible and outfitted with some ric rac and sparkle ribbon trim. She is already requesting new colors so I am pretty sure that this craft was a slam dunk.

Have I mentioned that I will cry big crocodile tears when she is too big for this stuff. I feel all sniffly and sad just thinking about it.

https://i0.wp.com/farm6.static.flickr.com/5224/5687947381_9ddb139861.jpg

I am going to soak in the rest of the night with my babies playing make believe!

Recycled Crayons

https://i0.wp.com/farm5.static.flickr.com/4003/4254312417_68397c74a3.jpg

Another snow day here so it meant another craft for the princess and I. So, we tackled her art supplies and took out all of the broken crayons to recycle them into new swirly crayons.

Break up crayons and put them in a muffin tin (our mini one was perfect for this)

Bake at 275 degrees for 5 minutes

Take a tooth pick to swirl to the colors (not too much or it will all turn one color)

Pop it in the freezer to cool and they will pop right out.

https://i0.wp.com/farm5.static.flickr.com/4054/4254312673_03ee7845b6.jpg

Surprisingly not as messy as you would expect and a totally free and quick craft for you to do with your kiddos.

Easy Peasy Tuxedo Hair Bow Tutorial

Hello readers and Pinterest fans!! My blog has moved from here to www.alittlemooreblog.com All new updates, tutorials and crafts can be found there!

Do you have a few scraps of ribbon left over from other craft projects? Well, if you have a little girl in your life then you can make these easy peasy Tuxedo Hair Bows. They are ridiculously easy and you can use up all of your scraps and have some sweet accessiories for your little one. Ready? Here we go!

tuxedo bow 1

Cut your scrap of ribbon. For 1.5 inch I like to make it 8 inches

tuxedo bow2

“Heat Treat” the ends by running the flame on the fray

tuxedo bow3

Make a loop and overlap the ends of the ribbon

tuxedo bow4

Squeeze down to the center creating 2 loops

tuxedo bow 5

Crease the center in and the edges out

(that is the secret to the bow standing up and having shape, weak creases make flat bows)

tuxedo bow 6

Use your clip to clamp the crease

tuxedo bow7

Use 24 gauge bead wire to secure your crease

tuxedo bow8

Cut a piece smaller width ribbon to make your center knot

tuxedo bow9

Loop your ribbon like an awareness ribbon

tuxedo bow10

tuck the right side under your loop

tuxedo bow11

Pull it through gently

tuxedo bow12

Pull into a knot of desired tightness

(you will need to gently turn the ribbon on each side of the knot to make a clean and flat center)

tuxedo bow13

Slide your clip in to the wire to secure it

tuxedo bow14

use a tiny dab of hot glue on the bottom of your knot and apply

tuxedo bow15

Secure the rest of the bow by using hot gluing the the rest of the knotted ribbon to the back and clipping off the excess of the ribbon neatly after glue dries

tuxedo bow16

You are all done! Use these instructions to make all different sizes and to make the sweet Minnie Bow Clip like I made for our upcoming Disney Trip!

Enjoy and show me the bows that you make!